In this article
Nuxt Form: simpler form handling in Nuxt
Forms can become surprisingly complex once an application needs submissions, server validation, loading states and field-level errors. I built Nuxt Form to bring those concerns into a single reactive API.
Introduction
Nuxt Form was my first public Nuxt module. I wanted to bring some of the form-handling experience of Inertia/Vue into Nuxt.
I discovered Inertia while working with Laravel. Its useForm API gave me a practical model for keeping form data, submissions and errors together.
The specific inspiration was Inertia's useForm(): reactive values, validation errors, data transforms and callbacks in one place.
I wanted a similar developer experience that worked naturally with Nuxt and its server routes.
Manage your forms efficiently with the useForm composable in Nuxt
The main API is useForm. It creates reactive form data and keeps the state needed for submission in one place:
const form = useForm({
  email: '',
  password: '',
})
This initializes email and password with default values and provides methods to submit, transform and reset them.
Submission of forms in Nuxt with post, put, delete
Nuxt Form provides post, put, patch and delete methods. They send the data while updating the form's submission state:
form.post('/api/endpoint', {
  onSuccess: (res) => {
    console.log('Success:', res);
    form.reset(); // Reset the form
  },
  onError: (err) => {
    console.warn('Error:', err);
  },
});
Transform data with transform
The transform method allows you to manipulate the data before sending it. This is useful if you want to format or validate the data (for example, remove unnecessary spaces or normalize the format of emails).
form.transform((data) => {
  return {
    email: data.email.trim().toLowerCase(),
    password: data.password.trim(),
  }
  }).post('/api/endpoint', {
  onSuccess: (res) => {
    console.log('Data submitted successfully', res);
  },
  onError: (err) => {
    console.error('Submission error', err);
  },
});
In this example, the form data is transformed before being sent, ensuring that it is in the correct format.
Manage errors with form.errors
Display client-side errors
Nuxt Form exposes validation errors through the reactive form.errors property. You can display the message for each field next to its input.
<template>
  <input v-model="form.email" type="text" placeholder="Enter your email" />
  <p v-if="form.errors.email">{{ form.errors.email }}</p>
</template>
When errors occur (for example, server-side validations), they are automatically assigned to form.errors, and you can display them directly in your template.
Manage validation with Nitro
With Nitro and Nuxt Form, form validation management is simple and effective. Here's how it works:
import { createUserValidator } from '../validators'

export default defineEventHandler(async (event) => {
  const result = await readValidatedBody(event, createUserValidator.safeParse)
  if (!result.success) {
    return createValidationError(result.error)
  }
  // Save the data to the database...
  return { statusCode: 201, message: 'success' }
})
The server reads the request body with readValidatedBody. On validation failure, createValidationError returns the field errors, which Nuxt Form exposes through form.errors in the interface.
This method guarantees a robust validation on the server side, essential for securing your forms in a Nuxt application. In addition, it integrates perfectly with the reactive error management on the client side, offering a smooth user experience while maintaining optimal security.
Reset the form with reset
All of this works perfectly when validation passes, but what happens when errors occur? When an error is detected, it is essential to be able to react quickly and reset the form or certain parts of it. This is where form.reset comes in, a powerful tool to reset your form to zero, or simply to clear the fields that are causing problems.
You can reset the entire form, or a specific field:
form.reset(); // Reset all fields
form.reset('password'); // Reset only the password field
Managing success and errors with onSuccess and onError in Nuxt Form
When submitting a form, it is crucial to know if the operation was successful or if errors occurred. With Nuxt Form, you can manage these events using callback methods such as onSuccess, onError, and onFinish, which give you complete control over the form submission flow.
Use of onSuccess: Manage successful submissions
The onSuccess method is triggered when the form submission is completed successfully. This allows you to perform additional actions, such as resetting the form or displaying a confirmation message to the user.
form.post('/api/endpoint', {
  onSuccess: (response) => {
    console.log('Submission succeeded:', response);
    // Reset the form after a successful submission
    form.reset();
  }
});
In this example, after sending the data via POST, onSuccess is used to reset the form using form.reset(), thus providing a smooth user experience.
This is particularly useful after a successful submission or if you want to allow the user to start over with blank values.
Use of onError: Manage submission errors
When the submission fails, the onError method comes into play. It captures the errors returned by the server, allowing you to display them to the user and take corrective action, such as resetting only the form errors.
form.post('/api/endpoint', {
  onError: (error) => {
    console.error('Submission error:', error);
    form.reset("password")
  }
});
With onError, errors are handled in a targeted way. In this example, if an error occurs during submission, only the password field is reset using form.reset("password"). This ensures that the other fields of the form remain unchanged, thus improving the user experience by limiting disruptions.
Combination of callbacks for optimal management
Thanks to the onSuccess, onError, and onFinish callbacks, you have full control over how submissions are handled in your Nuxt application. You can thus customize user interactions based on the success or failure of the submission, while maintaining smooth and responsive form management.
These submission management methods allow you not only to improve the user experience, but also to strengthen the reliability and security of your exchanges with the server by ensuring a clear processing of errors and successes.
Manage the status of the form with processing
The processing field is a reactive property that tells you if an action is in progress, for example when submitting a form. This allows you to display a "loading" status or disable buttons during the processing of the request.
<button type="submit" :disabled="form.processing">Submit</button>
With this simple use, you prevent multiple submissions while the form is being processed.
FAQ
How to install the Nuxt Form module to manage your forms?
To install Nuxt Form and start managing your forms easily in a Nuxt application, you just need to use the Nuxt CLI. Run the following command in your terminal:
npx nuxi module add @louislschvn/nuxt-form
This command will automatically add the module to your Nuxt project, thus simplifying the management of reactive forms, validation, and submissions.
Can I contribute to the Nuxt Form project?
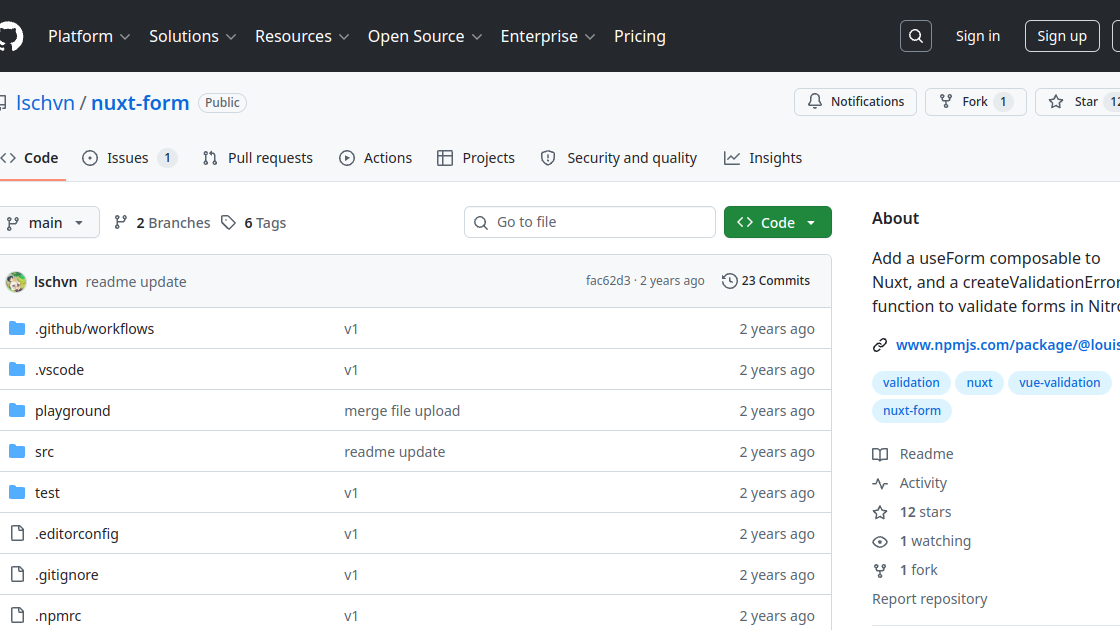
Yes, any contribution is welcome! If you want to improve Nuxt Form, you can clone the GitHub repository and start contributing. Here are the steps to configure the project locally:
- Clone the repository from GitHub:
git clone git@github.com:LouisLSCHVN/nuxt-form.git - Prepare the development environment:
npm run dev:prepare - Launch the project in development mode:
npm run dev
Do not hesitate to submit pull requests or report issues on the GitHub repository of the project!
Conclusion
Thank you for taking the time to read this article. I hope you found answers to your questions and that this overview of the Nuxt Form module will be useful to you. Please feel free to contribute to the project, all instructions are available in the README.md file of the GitHub repository.
If you enjoyed the project, please feel free to give it a star on GitHub to support me.